Taking your home’s security into your own hands has never been easier. A diy smart home alarm installation empowers you to build a customized, effective security shield without professional fees. This guide will walk you through every step, from selecting the right components to a successful setup, ensuring you have the confidence and knowledge to protect what matters most. Let’s begin building a smarter, safer home.
Contents
Before you begin: planning your smart alarm system
A successful diy smart home alarm installation begins long before you open the box. Proper planning ensures you cover all weak points and choose a system that truly fits your lifestyle. This initial assessment saves significant time and prevents critical security gaps, forming the foundation of your home’s protection.
Map your home’s vulnerabilities
Start by creating a simple floor plan of your property. Walk through and physically mark every potential entry point, including all doors, ground-floor windows, and any accessible upper-level access points. Crucially, also note areas with weak Wi-Fi signals, as this can affect sensor and camera performance. This map is your essential guide for placing all the components of a smart home security system effectively.
Choose the right diy system
Your smart home security planning must account for key system differences. Consider these core factors before committing to a purchase:
- Monitoring Type: Decide if you prefer self-monitoring through smartphone alerts or the peace of mind from optional professional monitoring services.
- Ecosystem Compatibility: Ensure the system integrates smoothly with smart assistants you already use, like Google Assistant or Amazon Alexa.
- Future Scalability: Select a system that allows you to easily add more sensors, cameras, or other devices as your needs evolve over time.
Understanding your diy alarm system components
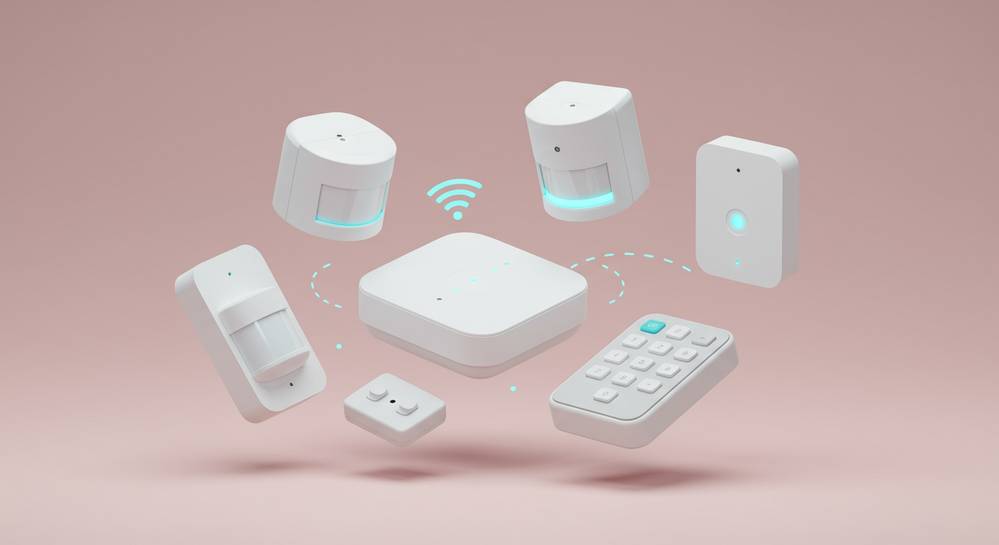
A DIY alarm system is a network of devices working in unison. Knowing each component’s function is vital for a successful diy smart home alarm installation and for troubleshooting later. Most starter kits include these core security devices.
The base station or hub
This is the command center of your security system. It wirelessly communicates with all your sensors and connects to your Wi-Fi. This device sends alerts to your phone and activates the siren. Place it centrally for optimal signal strength throughout your home.
Contact and motion sensors
Contact sensors are two-part magnetic devices for doors and windows that trigger an alert when separated. Motion sensors cover larger areas like living rooms by detecting movement. Proper placement of these undefined is key to avoiding false alarms from pets or heat sources.
Keypad and siren
The keypad provides a physical way to arm and disarm the system with a PIN, a useful backup to the mobile app. The siren, often built into the hub, is designed to be loud enough to deter intruders and alert everyone nearby of a security breach.
The step by step installation process
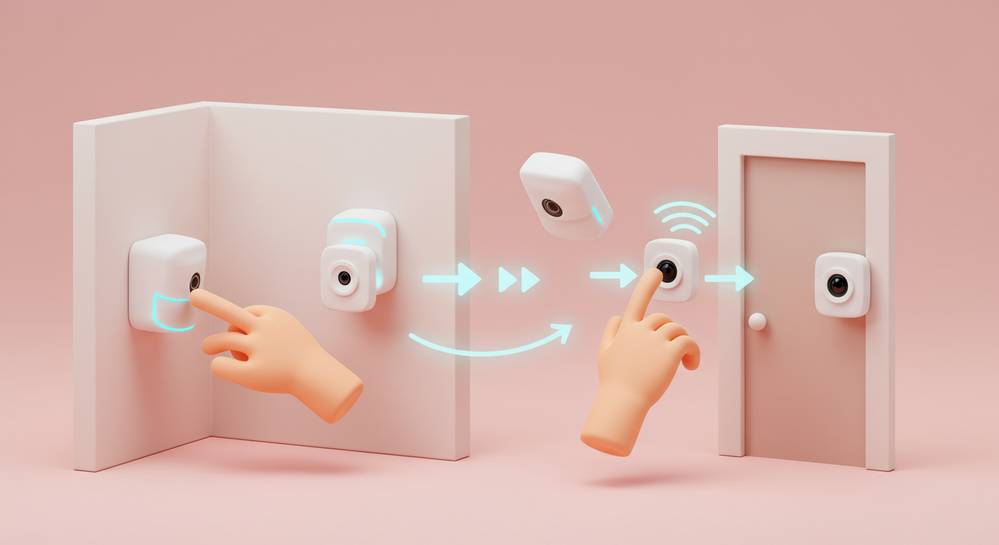
With your plan and components ready, the diy smart home alarm installation is a straightforward process. Most systems are designed to be user-friendly, guiding you with clear in-app instructions. Follow these general steps to bring your security plan to life and ensure a smooth setup.
Power up and connect the base station
Begin by plugging in your base station and connecting it to your home internet via Wi-Fi or an Ethernet cable. Download the system’s mobile app and follow the prompts to create an account. The app will then guide you through pairing the base station, which acts as the brain for all other devices.
Install and pair your sensors
One by one, place each sensor according to your home map. Most modern sensors use adhesive backing for a tool-free installation. As you install each one, use the mobile app to pair it with the hub. Be sure to name every sensor, such as Front Door or Living Room Motion, for precise alert identification.
Test the entire system
This final step is critical for confirming your work. Activate the system’s Test Mode through the app to avoid dispatching emergency services. Trigger each sensor by opening protected doors and walking past motion detectors. Verifying that you receive a notification for each trigger confirms your undefined as expected.
Maximizing your system with integrations and routines
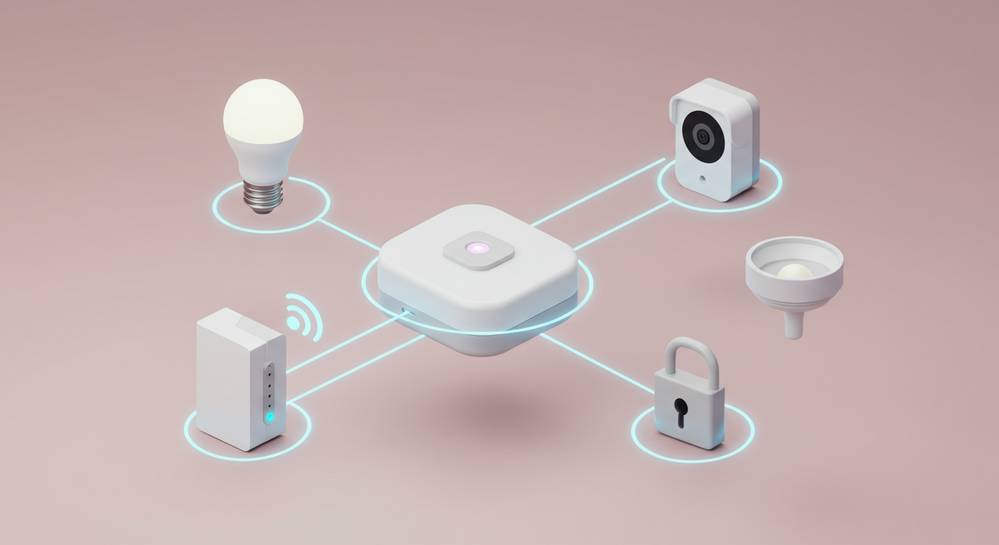
Your smart alarm system is more than just a burglar alarm; it is a central piece of your smart home ecosystem. Integrating it with other devices unlocks a new level of convenience and security automation. This elevates your initial diy smart home alarm installation into a truly intelligent home network.
Connect to your voice assistant
Link your alarm system to Amazon Alexa or Google Assistant for hands-free control. This allows you to arm the system with a simple voice command as you are leaving. You can also check the status of your system or individual sensors just by asking. This feature is incredibly useful when your hands are full or you want a quick status update without reaching for your phone.
Create smart home routines
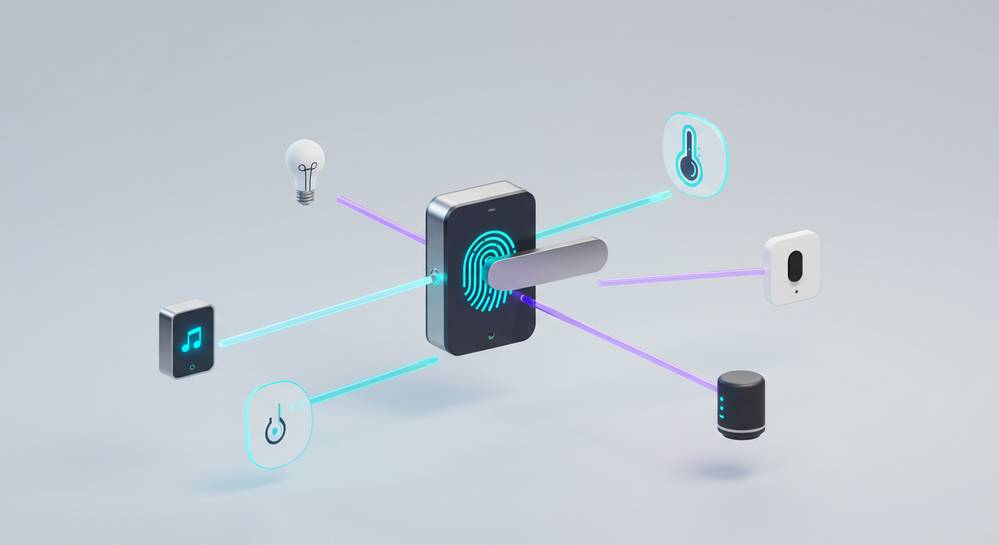
Use your alarm system status as a trigger for other smart devices. For example, create a Goodbye routine that activates when you arm the system to Away. This can automatically turn off smart lights, adjust your thermostat, and lock smart doors. An Intruder routine could flash all house lights and play a warning on smart speakers, creating a powerful, unified response that enhances security.
Completing a DIY smart home alarm installation is an achievable and rewarding project that puts you in direct control of your security. By planning carefully, understanding each component, and testing thoroughly, you can build a reliable system tailored to your home. Now you have the knowledge to not only protect your space but also integrate it into a smarter living experience. For more guides on home technology, visit Dwelling Tech Trends.
